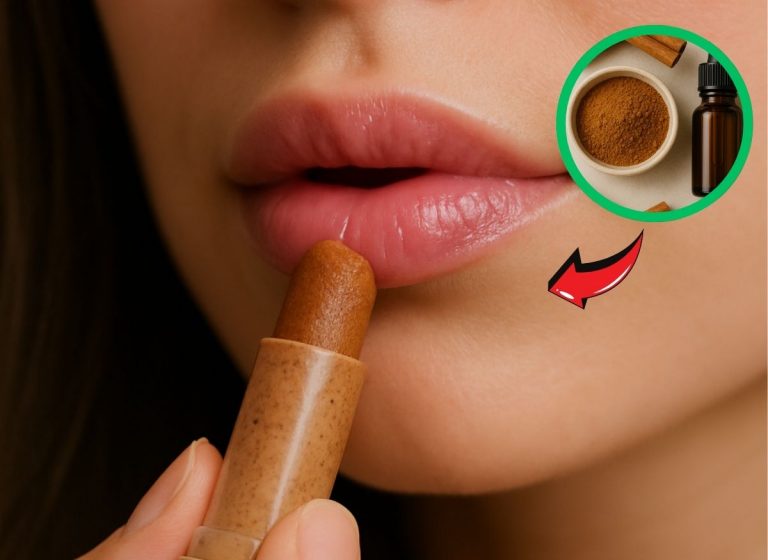
I Made My Homemade Lip Gloss Without Chemicals And I’ll Never Go Back to Store-Bought
I used to be that girl who always had three different lip glosses in her bag. One for “everyday shine,” one that promised to plump, and one that I just liked because it smelled like cupcakes.
But every single one of them dried my lips out. I’d reapply, feel cute for ten minutes, and then spend the rest of the day peeling or flaking.
The turning point happened one winter while I was visiting a holiday market here in NYC. I picked up this tiny jar of handmade lip balm from a vendor in Brooklyn.
It was buttery, glossy, and made with only four ingredients. I put it on once, and my lips felt soft all day. That night, I read the label and realized I could make this myself.
So I did. And it was easier (and more fun) than I ever imagined.
Now I’m completely hooked on making my homemade lip gloss without chemicals. It’s quick, affordable, and gives me full control over what I’m putting on my lips. If you’ve ever been frustrated by drugstore glosses that promise moisture but deliver stickiness, this post is for you.
Why I Switched to Homemade Lip Gloss Without Chemicals
The more I read about ingredients in commercial lip products, the more uncomfortable I felt. I didn’t love the idea of putting things like petroleum, parabens, artificial dyes, and synthetic fragrances near my mouth.
Making my gloss gave me peace of mind. I knew every ingredient was safe enough to eat (because let’s be real, some of it ends up getting licked off anyway). Plus, I could customize the scent, shine level, and color based on what I wanted that week.
Most importantly? My lips have never felt better. No more flaking, cracking, or that weird “burning” sensation I used to get from some of the tingly glosses. Just soft, smooth, naturally shiny lips that feel taken care of.

My Go-To Homemade Lip Gloss Recipe
This recipe is super beginner-friendly and totally adjustable depending on your preference for color, scent, and texture. I’ve made versions of this gloss as gifts, and every single time, the response is: “Wait, you made this?!”
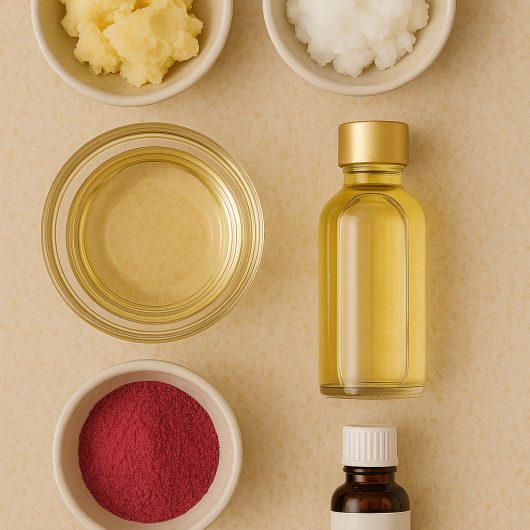
Ingredients:
- 1 tablespoon shea butter (deeply moisturizing, non-greasy)
- 1 tablespoon coconut oil (adds shine and glide)
- 1 teaspoon sweet almond oil or jojoba oil (for smooth texture)
- ½ teaspoon beetroot powder or mica (for color – optional)
- 2 drops peppermint or vanilla essential oil (optional for scent)
You can make this with just a small glass bowl and a spoon. But if you have a double boiler or microwave-safe container, even better.
Steps:
- Melt the shea butter and coconut oil together over low heat or in the microwave (short bursts, stirring between).
- Once melted, stir in the almond or jojoba oil.
- If adding color, mix in beetroot powder or mica until fully blended.
- Add your essential oil if using.
- Pour into a small lip gloss container or pot and let cool completely before using.
That’s it! I like to store mine in tiny reusable jars or recycled balm tins. It stays fresh for weeks and makes a perfect on-the-go companion.
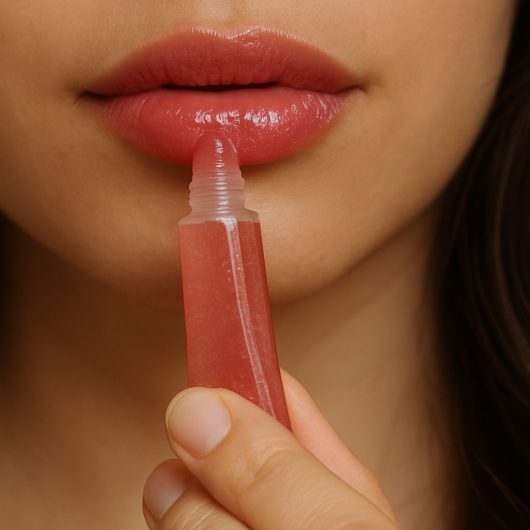
How This Homemade Lip Gloss Without Chemicals Feels and Why I Love It
This gloss gives me a soft, buttery shine without the sticky finish I used to hate. It feels luxurious going on, and my lips still feel nourished even hours later. On cold, windy NYC days, it protects my lips better than any store-bought gloss I’ve tried.
If I want a tinted gloss, I just add a little more beetroot powder or swirl in a bit of leftover lipstick for color. If I’m going for a “glassy” clear finish, I skip the tint and just enjoy the natural shimmer from the oils.
The best part? I can make a new flavor or finish anytime I feel like it. One week it’s minty fresh, the next it’s vanilla-chai vibes. It feels like a little luxury I create for myself.
Tips for First-Time DIY Lip Gloss Makers
If you’re new to making your lip care, it’s way more forgiving than it looks. One thing I always suggest is to start small. This recipe makes just one little jar, which is perfect for testing it out before committing to a bigger batch.
Also, when it comes to adding color, stick with food-safe or cosmetic-safe options. I love using beetroot powder, but don’t go digging through your kitchen for random food dyes. Keeping things gentle and natural is the way to go.
Clean tools make a big difference, too. Always use dry, sanitized containers and spoons to make sure your gloss stays fresh and bacteria-free. It sounds like a small thing, but it helps your creations last longer and feel more luxe.
The texture is customizable. If you like a thicker, more balm-like gloss, use more shea butter. If you want a super glossy, slick finish, add a little extra oil. It’s all about finding your personal sweet spot.
And most importantly, have fun with it! Try out different essential oils, add a tiny bit of honey for extra softness, or mix in a natural shimmer. Your lips, your rules. That’s the beauty of DIY!
If you’ve been looking for a chemical-free alternative to drugstore gloss, give this recipe a try. You might just find yourself reaching for your DIY gloss more than anything else in your collection.
And hey, if you create your version, drop a comment. I’d love to see how you make it your own.
Author: Leonardo Petano
Biographical Info Leonardo Petano: TODO share