DIY Nail Soak is The Natural Ritual That Saved My Brittle Nails
There was a time (not too long ago) when I used to hide my hands in photos. My nails were always splitting or peeling, and my cuticles looked dry no matter how much I fussed with them.
I blamed it on city life, cold weather, typing all day… anything but the truth: I wasn’t taking care of them.
It hit me one Sunday morning when I went to open a jar, and my thumbnail bent backward. Not a cute moment. That same afternoon, I decided to stop ignoring my hands and start treating them with the same love I gave my skin and hair.
That was the day I made my first DIY nail soak, right at my kitchen counter with a bowl of warm water, olive oil, and a squeeze of lemon.
I didn’t expect much, but I swear my nails looked healthier after just ten minutes. They felt stronger. And most of all, I felt more connected to myself. That’s when I knew this was a ritual I needed.
Why Your Nails Need a Soak Too
Before I started soaking my nails weekly, I didn’t realize how much damage had built up. Between dishwashing, hand sanitizer, winter air, and the occasional stress-bite (yep, I’m guilty), my nails were constantly under pressure.
A nail soak gives them a chance to hydrate, heal, and rest, especially when you use natural ingredients your body recognizes. It’s so calming to sit still with your fingertips soaking in warm goodness. It feels like a mini retreat, even when life is noisy.
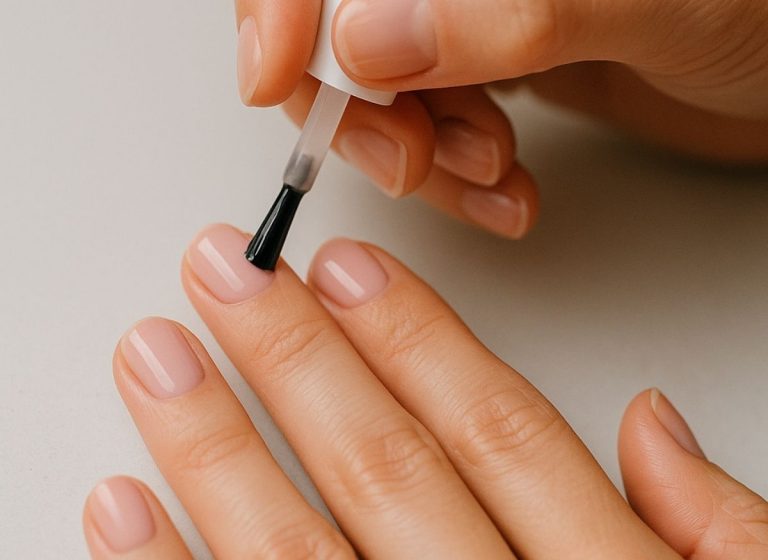
My Go-To DIY Nail Soak That I Still Use Every Week
I’ve tried a few combinations over the years, but one simple soak has stayed with me. It’s the one I go back to when my nails feel dry, flaky, or just need a little boost.
Here’s how I make it feel special without making a mess.
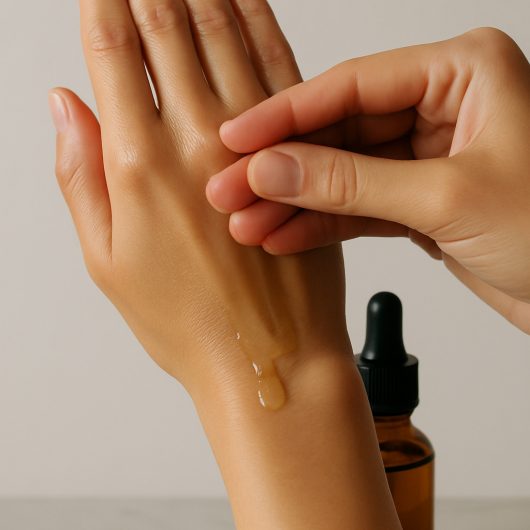
I fill a small bowl with warm water, just enough to cover my fingertips. Then I add about a tablespoon of olive oil, a teaspoon of lemon juice, and a few drops of honey if I have it around. If it’s been a rough week, I’ll toss in a drop of lavender essential oil for the scent alone.
I soak for 10–15 minutes while listening to music or flipping through a book. When I take my fingers out, I gently massage the leftover oil into my nails and hands. I let it sink in while I clean up or prep dinner.
The first time I did this, I was shocked at how soft and moisturized my hands felt. After a few weeks, I noticed fewer breaks and a natural shine coming back. I haven’t bought a nail strengthener since.

Other Soaks I’ve Tried and Loved
Sometimes I switch things up based on what I have in my pantry or how my nails are feeling.
One time during winter, when my skin was extra dry, I made a soak using coconut milk and sweet almond oil. And wow. My cuticles felt like silk.
Another favorite was a green tea soak with a splash of apple cider vinegar and a pinch of sea salt. That one’s great when your nails feel weak or thin. It smells earthy and a little odd, but the results speak for themselves.
I don’t follow strict recipes anymore. I go by feel. That’s the beauty of DIY: you get to create what your body needs, not just what a label tells you.
What I Do After a Nail Soak
Once I’m done soaking, I always take a few extra minutes to seal in the goodness. I gently push back my cuticles (never cut them) and massage a little bit of jojoba oil or shea butter around the nail beds. If I’m not in a rush, I’ll even wear cotton gloves for an hour to lock in the moisture.
These tiny steps have become part of my Sunday wind-down routine. It’s how I remind myself that rest is productive too.
Why I’ll Never Stop Making My Nail Soaks
There’s something deeply grounding about making your care rituals. You take a few ingredients, a little time, and turn them into a moment of presence. That’s what this soak is for me.
If you’ve been neglecting your hands like I used to, I invite you to try a DIY nail soak. Start simple. Olive oil and warm water can work wonders. You don’t need a fancy setup at all!