My Go-To Homemade Cream Blush Recipe for a Natural Glow
I’ve always had a soft spot for that barely-there flush: the kind that makes you look like you’ve just taken a brisk walk in the park or laughed a little too hard at something funny. But my search for the perfect blush never quite worked out.
Powder blushes made my skin look dry and flat, and store-bought creams often came with a laundry list of ingredients I couldn’t pronounce. On top of that, they were expensive, and half the time I’d end up with a shade that looked completely different on my skin than it did in the package.
One rainy Saturday, I was reorganizing my kitchen when I found a forgotten jar of beetroot powder from a smoothie phase I never stuck with. What if I could make my blush?
Something simple, skin-friendly, and exactly the color I wanted. My first attempt was far from perfect (clown cheeks!), but after a few tweaks, I had created a recipe that gave me the soft, natural glow I’d been looking for. And best of all? I knew exactly what was in it.
Why I Switched to Homemade Cream Blush
Making my cream blush started as a fun experiment, but it’s become a non-negotiable part of my beauty routine. For me, it’s not just about the color, it’s about control. I can choose the ingredients, tailor the shade, and avoid fillers or preservatives I don’t need.
Plus, homemade blush blends into my skin in a way that feels natural and comfortable. No heavy texture, no weird fragrance. It’s just a soft wash of color that feels like my skin, but better.
My Tried-and-True Homemade Cream Blush Recipe
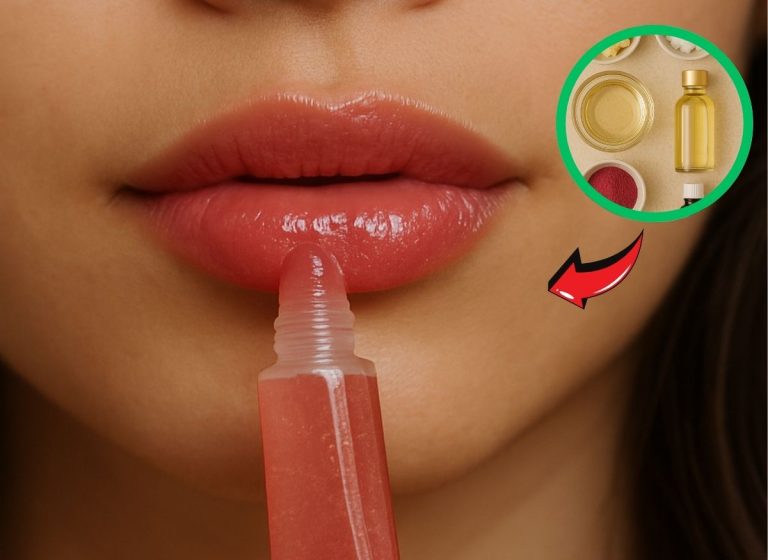
Here’s the recipe I’ve settled on after lots of experimenting. It’s moisturizing, blends like a dream, and doubles as a lip tint.
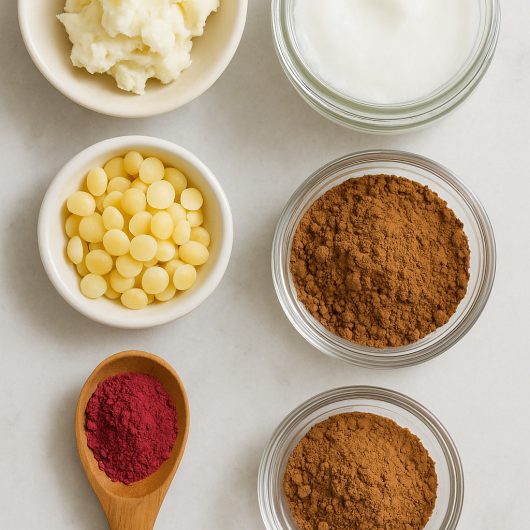
Ingredients:
- 1 teaspoon shea butter
- 1 teaspoon coconut oil
- 1–2 teaspoons beeswax pellets (for firmness)
- ½ teaspoon beetroot powder (adjust for color intensity)
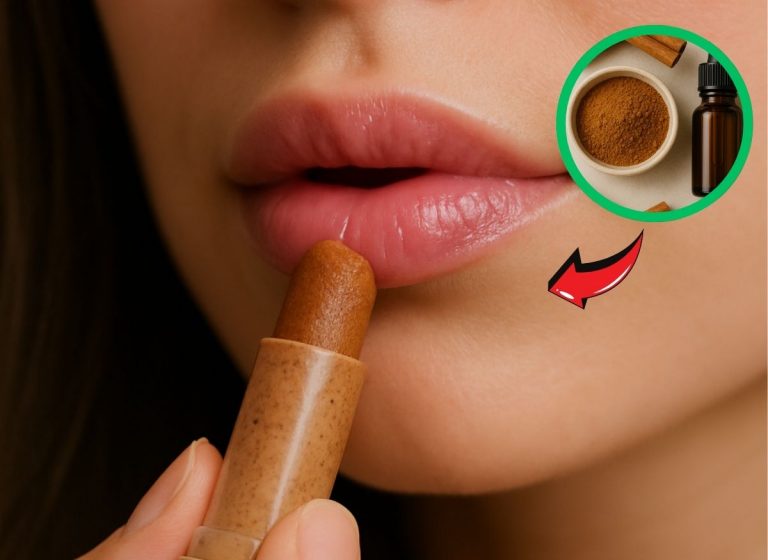
- Optional: a pinch of cocoa powder to add warmth
- Optional: 1 drop of lavender or rose essential oil (skin-safe and diluted)
Steps:
- Melt the shea butter, coconut oil, and beeswax in a heat-safe bowl over a pot of simmering water (double boiler method).
- Once fully melted, remove from heat and stir in the beetroot powder until smooth. Start with less pigment since you can always add more.
- If you want a warmer tone, mix in a small pinch of cocoa powder.
- Add the essential oil, if using, and stir well.
- Quickly pour into a small tin or jar before it sets.
- Let it cool completely before using.
How to Customize the Shade for Your Skin Tone
One of my favorite things about making cream blush at home is how easy it is to create a shade that’s truly yours.
If you have fair skin, I recommend starting with just a small amount of beetroot powder to get a soft, natural pink. Skip the cocoa powder here, as too much can make the color look muddy.
For medium skin tones, a little extra beetroot powder paired with a touch of cocoa gives a gorgeous rosy warmth that brightens the face. If your skin has an olive undertone, you can increase both the beetroot and cocoa for a deeper rose or brick shade.
For deeper skin tones, I love going bold with more beetroot powder for richness, then adding a small pinch of turmeric to bring out a golden warmth. The beauty of DIY is that you can tweak and experiment until you find the shade that makes you feel your absolute best.
Storage & How I Apply It for the Most Natural Glow
I keep my cream blush in a small tin in a cool, dry spot. It lasts for about 6 months if stored away from heat and sunlight. If you live somewhere hot, you can store it in the fridge for extra firmness, though I love the slightly melty texture it gets in summer.
Always use clean fingers or a small spatula to avoid introducing bacteria into the jar.
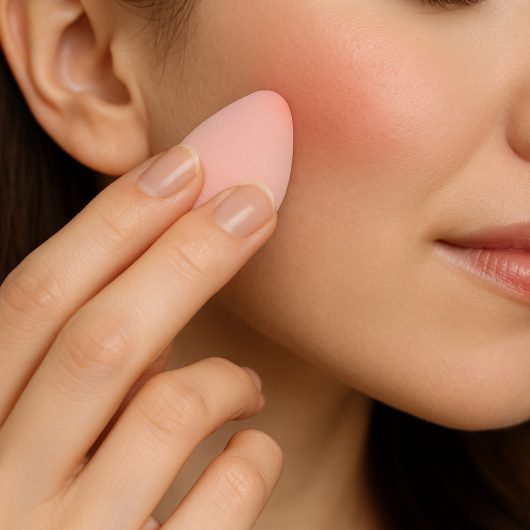
I like using my fingers to apply cream blush because the warmth helps it melt into the skin. I dab a tiny amount on the apples of my cheeks and blend upward toward my temples. For a cohesive look, I tap the leftovers from my fingers onto my lips for a matching tint.
If I’m wearing foundation, I apply the blush before setting powder so it blends seamlessly. On bare skin days, I’ll sometimes layer a touch of translucent powder on top to make it last longer.
If Your Blush Isn’t Perfect the First Time
Even simple recipes can be a little trial-and-error at first. Here’s what I learned:
- Too bright? Add more shea butter or beeswax to soften the color.
- Too hard? Use less beeswax next time for a creamier texture.
- Too soft? Add a little more beeswax so it holds up in warmer weather.
- Patchy? Make sure your pigment is fully blended into the oils before pouring into your container.
Making It Multi-Purpose
This blush isn’t just for cheeks, it’s surprisingly versatile. I often dab a little on my lips for a soft, monochrome makeup look that ties everything together. On days when I want something fresh and glowy, I’ll blend a thin layer over my eyelids as a cream eyeshadow for a subtle, dewy finish.
It also works beautifully as a color corrector. I’ll tap a small amount under my bronzer to give my skin a healthy, lit-from-within flush that looks effortless but instantly brightens my face.
Why I’ll Never Go Back to Store-Bought
Store-bought blush might be convenient, but nothing beats opening a little jar of something you made yourself. It’s more personal, it’s kinder to your skin, and it feels like a small luxury you can create any time you want.
Every time I swirl my fingers into my homemade blush, I get that quiet satisfaction of knowing I crafted it. And to me, that’s the kind of glow you can’t fake.
Author: Leonardo Petano
Biographical Info Leonardo Petano: TODO share